Subtitle: Quick & Dirty Sewing - so stuff gets done!
Once again, I'm sharing how I figured something out - which is probably stating the obvious to most people. But it might just show you a new technique if you're not a very experienced sewist. Enjoy!Our dirty clothes basket came with a liner that serves absolutely no useful function. It's not big enough to stay put when clothes are placed in there, so we can't use it to bring the laundry down from upstairs.
Simple solution: make a new one.
Step 1: raid the fabric stash (self-imposed rule of using what I already have)

Step 2: remove dog from project
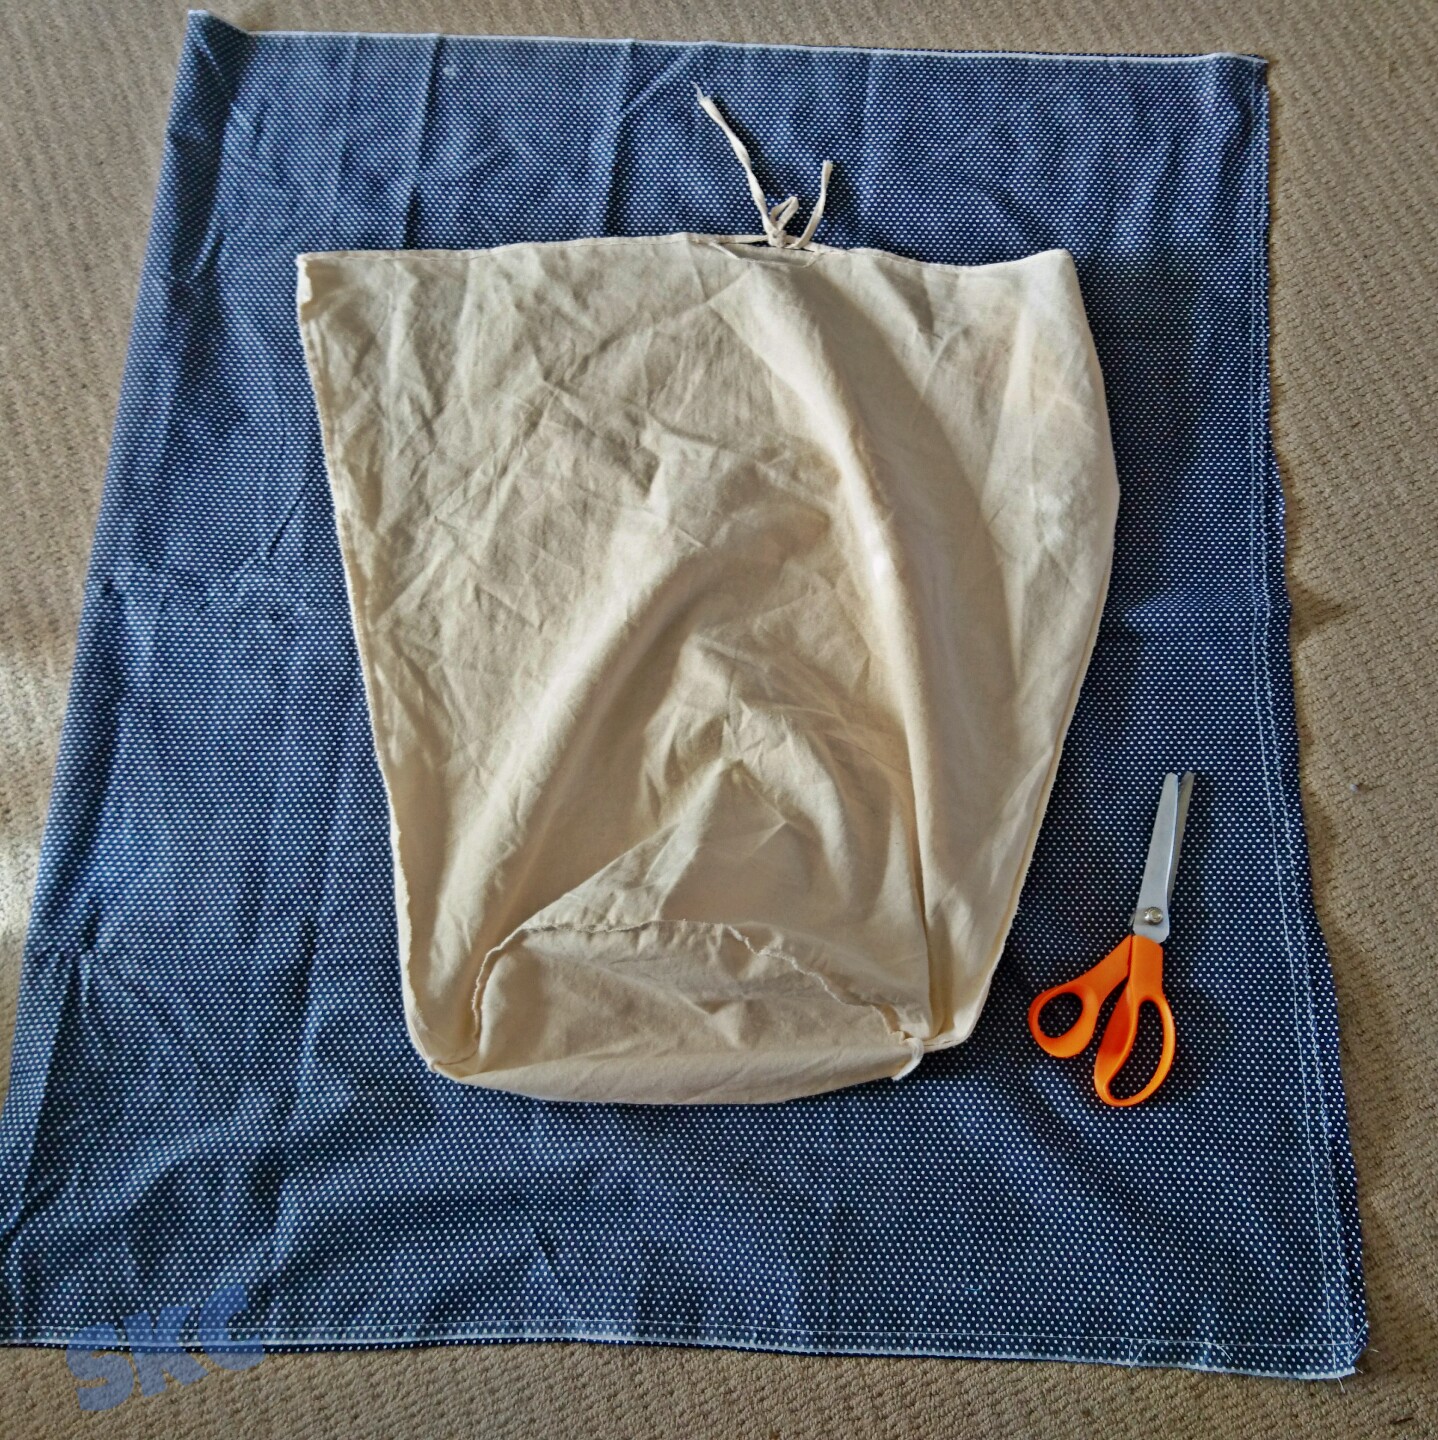
Step 3: place old laundry bag on fabric to get a rough idea of the size. No measuring in this project! I just knew I needed it a bit bigger, and I've allowed a little extra for seams.
Step 4: cut fabric I'm using the fabric width for the depth of the bag.
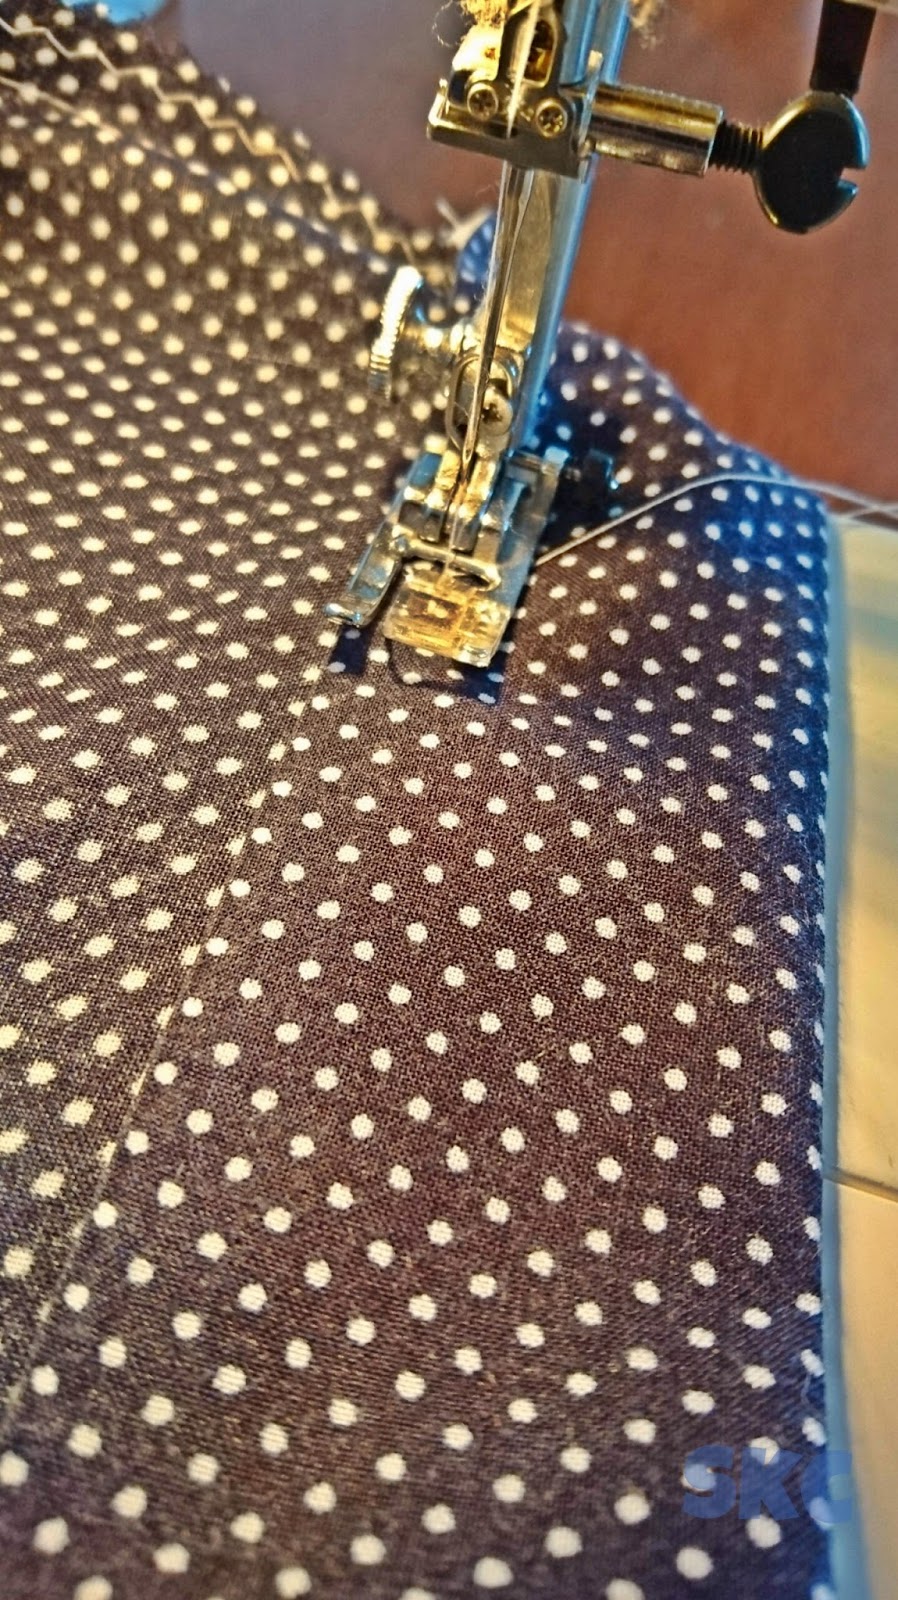
Step 5: sew the side seam. Go back & zigzag so it doesn't fray

Step 6: sew the bottom seam. No zigzag this time, the selvedge won't fray
Step 7: create a channel for elastic to be threaded through the top (this will keep the bag from falling into the basket. No measuring, just guesstimate and iron. Again the selvedge meant no zigzag or folding under was necessary.
  |
| Iron a channel - just eyeball the width you need |

 |
| It's a little tricky to show, but the seam at the side of the bag is matched to the base seam, creating a triangle. We're going to sew across the fabric to finish making the triangle. |
 |
| Now you can see the triangle. I sewed down this again with a zigzag so it won't fray |
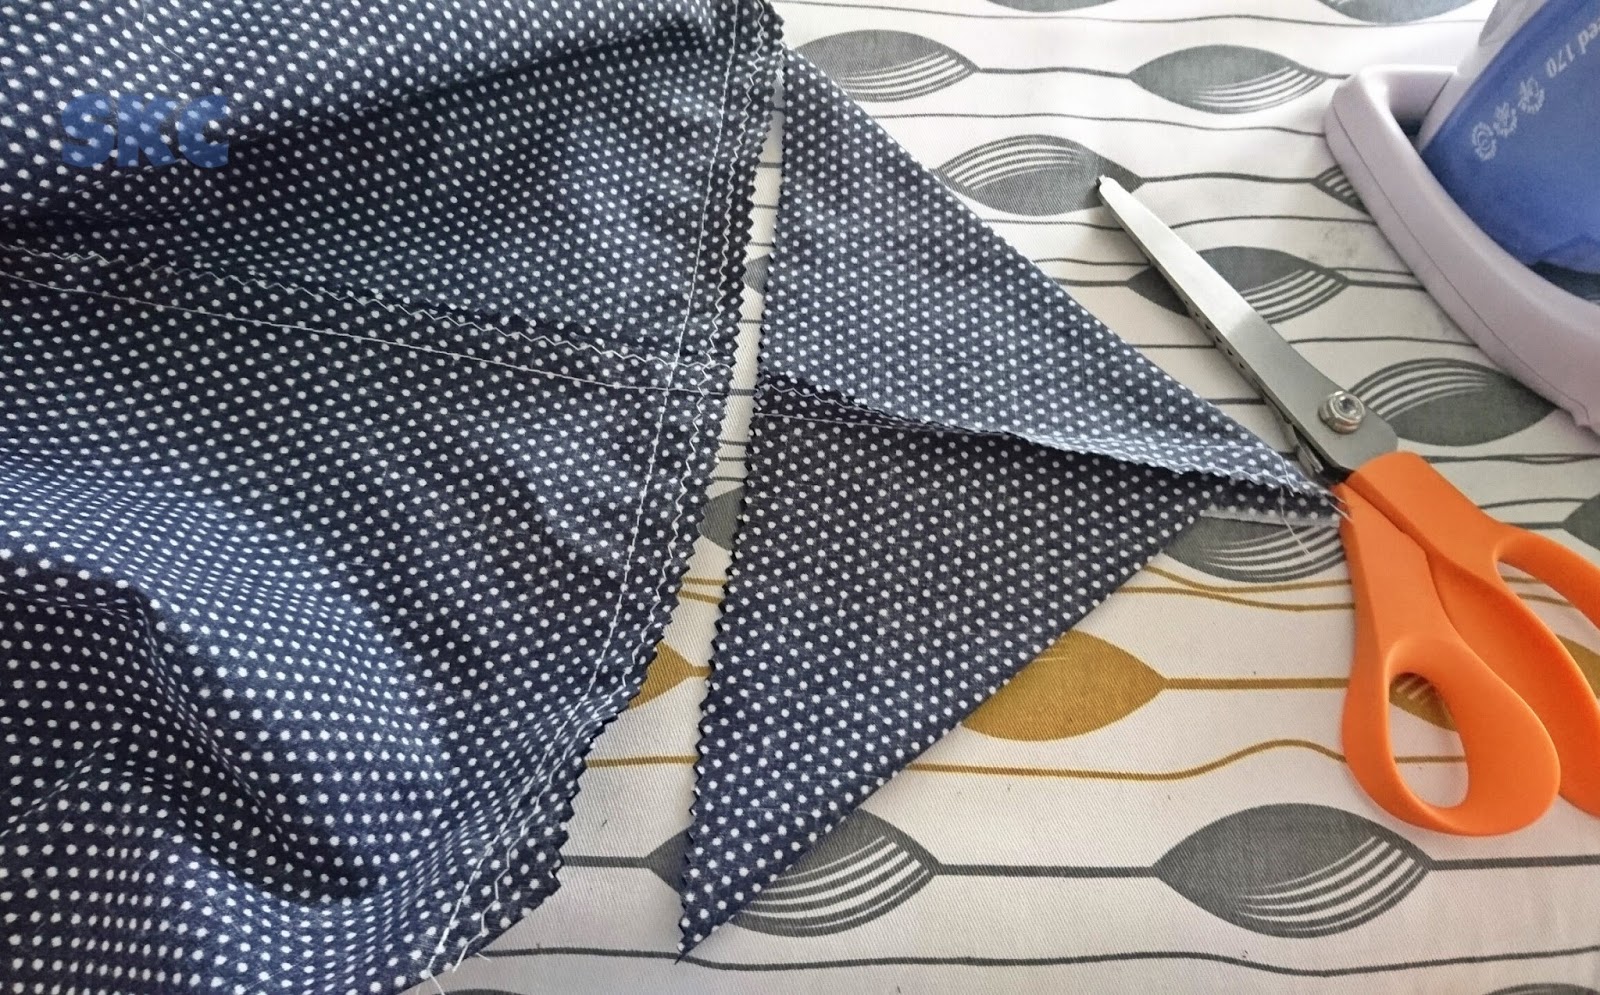
Cut off the spare fabric (just past your zigzag row). Turn it into a party hat. Or not.
 |
| Here's the new rectangular base of the bag, the triangles will be cut off Step 9: Roughly estimate length of elastic, thread through the channel. Tie off. |


 |
Step 10: Place in washing basket & admire.
Now our laundry bag can do it's work properly! I love it when a simple sewing job fixes something that's not working properly!

Now our laundry bag can do it's work properly! I love it when a simple sewing job fixes something that's not working properly!
No comments:
Post a Comment